


Whether you’re trying to clear up hard drive space or you just want to get rid of an unused app, uninstalling software is a fairly routine task. Luckily for Mac users, the uninstallation process is a lot simpler on macOS than it is on other platforms. In fact, it’s literally drag-and-drop simple. There’s no “Uninstall Programs” menu in Control Panel like there is in Windows.
Having said that, there are a couple of ways you can actually go about uninstall apps on Mac. Here’s what you need to know.
Uninstall Mac Apps Via Finder
The traditional method for uninstalling apps is to use Finder. If you’re running a particularly old version of macOS (or OS X), this is the method you’ll use.
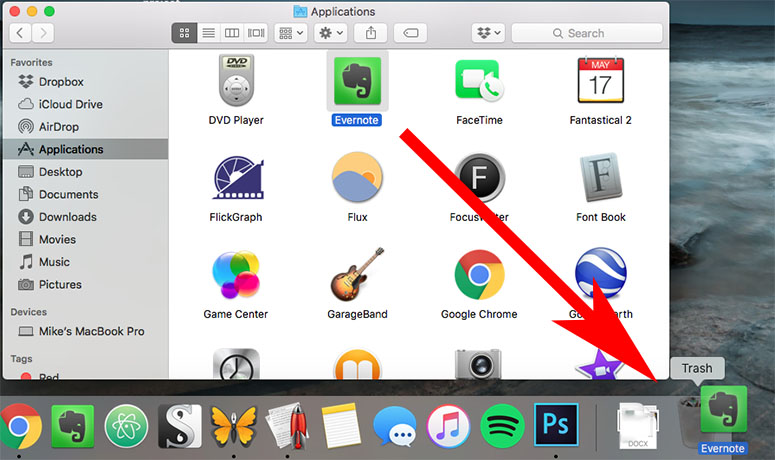
- Open a Finder window.
- Click on the Applications folder.
- Select the app you want to uninstall.
- Right-click the application.
- In the menu that pops up, click on Move to Trash.
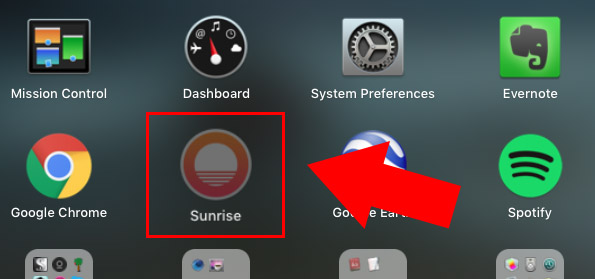
Alternatively, you can simply drag the application directly to the Trash icon. (It’ll be in the bottom-right corner of the Mac taskbar. You may need to hover over the bottom of the display to get it to show.)
Once the app is sent to Trash, there is one more step you’ll need to take to completely rid your computer of it.
This is also the last time to reinstall an app you’ve recently deleted if you changed your mind. Just drag an app from Trash back to the Applications folder. Or right-click on the app in the Trash folder and click Put Back.
But to permanently delete apps from your computer, simply right-click the Trash icon in the bottom-right corner of the menu bar. Then, click on Empty Trash. Depending on how much data is in your Trash can, this could take a moment.
Uninstall Mac Apps from Launchpad
The last method is incredibly simple, but OS X Lion and newer versions of the Mac operating system have an easier method.
First, you’ll need to open Launchpad. There are two ways to go about this.
- Click the Launchpad icon in the taskbar. It’s shaped like a gray rocket, or six squares.
- Alternatively, you can use a Multi-Touch gesture. Simply pinch your thumb and three fingers together to display Launchpad.
From here, the process is similar to iOS.
- Click and hold the icon of the app you’d like to uninstall.
- Wait until the app icon begins to jiggle.
- When it does, click the circular black X icon that appears next to it.
- You’ll be a prompt asking you to confirm. Click on Delete.
It’s worth noting that the Launchpad method won’t work on every app. Typically, it’ll only show up on apps that you’ve downloaded from the Mac App Store.
Similarly, unlike iOS, you won’t be able to delete native macOS applications like Safari, Mail or Photos.
Using an Uninstaller for Mac Apps
While these methods will cover the vast majority of apps you interact with on a daily basis, there is another method for certain applications.
Although uncommon, some apps will have their own dedicated uninstallers. This is especially true for app suites like Microsoft Office or Adobe Creative Cloud.

Basically, these app suites come with an uninstaller app because they tend to install other software or support apps. If you install Photoshop on your Mac, for example, Adobe might install a suite of other apps like Adobe Bridge or Adobe Content Viewer along with it.
To do away with an app suite, you can either hunt down each individual app and delete them separately. Or, you can use the uninstaller app that came with the suite.
Generally, it’s recommended that you use the uninstaller. The official uninstall process will typically clean up app data and other miscellaneous files that might otherwise be left behind.
How to Clean Up Leftover Files
Though this isn’t true across the board, some apps will “leave behind” random bits of data or other files. For the most part, there’s really no harm in this. But these leftover files can take up a bit of space on your drive.
If you’re particularly space-conscious, you might want to go through the process of cleaning them up.
The quickest way to do so is to use a third-party utility app that will automatically locate and delete that leftover data, preference files and caches. An app like AppCleaner is a great choice.
Use AppCleaner to Clean Up Files
AppCleaner is free and incredibly simple to use. Once you download and install it, follow these steps before you uninstall the actual app.
- Open AppCleaner.
- Drag an application to the AppCleaner window.
- It’ll scan and find all associated files.
- Be sure to “check” the files and folders that you want AppCleaner to delete.
- Click the Remove button.
- You’ll usually need to login with an administrator account to authenticate.
Once you do, AppCleaner will move the app and its associated files to the Trash.
AppCleaner also has a “SmartDelete” option that’s located in its Preferences menu. This will save you from having to checkmark each file or folder before AppCleaner removes them.
As with the other methods explained above, you’ll need to empty the Trash before the apps (and their files) are actually deleted from your hard drive.
Manually Clean Up Leftover Files
If you don’t want to use a third-party option, you’ll need to dig around and find those files yourself. It’s not the hardest thing to do, but it requires a bit of know-how.
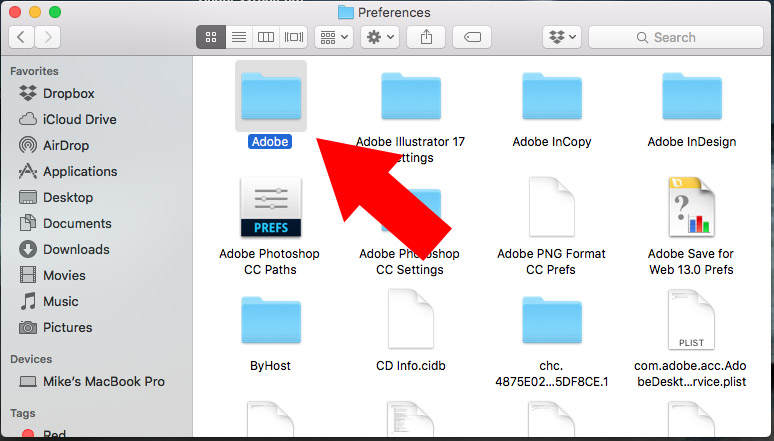
You will find these leftover bits of data in your Library folder. Here’s how to get to it.
- Open a Finder window.
- Click on the Go menu in the top menu bar.
- Hold down the Option key.
- You’ll see a new folder pop up titled Library.
- Click on Library.
From here, it’s just a matter of searching out the individual leftover files. They might include application support files, preference files, and caches.
In the Library folder:
- Application support files will be located in the Application Support
- Preference files will be located in the Preferences
- Caches will be located in the Caches
Click on any of the above folders. Then, locate a subfolder named after the app you’ve uninstalled. Occasionally, the folder will be named after the app developer, rather than the app.
You can either delete the individual files within that subfolder, or just delete the subfolder itself.