How To Wax Your Surfboard
Wax is what keeps a surfer attached to their surfboard. The surface of any surfboard is slick, which makes it difficult for our feet to hold it. This wax on the board generates ridges that your feet can grip. If they want to stand up, all surfers need wax on their boards.
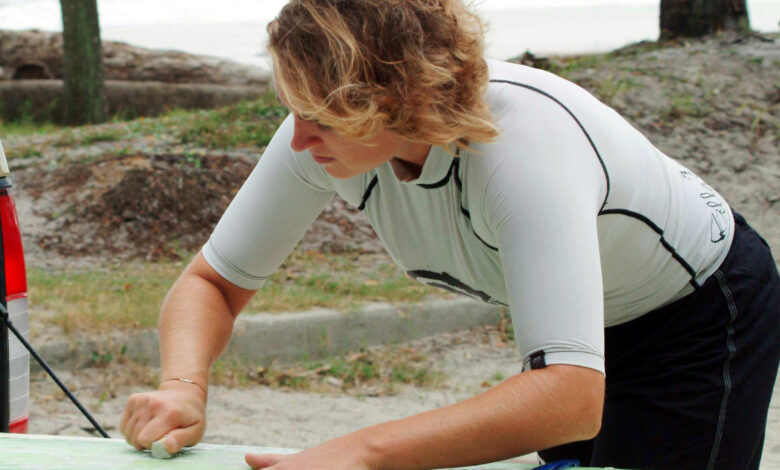
To wax your surfboard, follow these simple instructions!
What you’ll need:
- Topcoat wax
- Basecoat wax
- Wax comb
Related: How’s Your Boat Looking These Days?
Step 1 – Clean Your Surfboard
Go straight to step two if you’re waxing a brand new board. You’re on the right track if you’re re-waxing an old board. It’s critical to clean the deck of any old wax before re-waxing an old board. Older polish will flake off, potentially ruining your new wax job’s structure. The base coat should be applied directly to the board’s surface.
To separate wax, use the straight side of the wax comb. We like to keep the board in the sun for a few minutes to let the wax melt a little and make the process easier.
Warning: Avoid exposing the surfboard to the sun for long periods. Curved edges are typical on wax combs to guarantee that wax is removed from the board’s rails as well. You’re ready to apply the base coat once your board is clean, dry, and shiny.


Step 2 – Applying The Base Coat
The base coat is the most significant layer of wax on your board. The topcoat is intended to wear out after a couple of sessions; however, the base is going to remain until your next complete re-wax. Once parts of your base coat detach, it cannot be easy to reapply.
This layer aims to create bumps that will last on your board. Typically, this wax is much more complicated than your standard surf wax to add to its longevity. As a result, it’s more challenging to apply, so apply pressure to ensure it sticks. The wax will skip and make noises at times when waxing. On the other hand, the stick of polish is simply bouncing over bumps that have already developed. All strokes should be broad at first, then become more delicate as the bubbles appear. It might be beneficial if you experimented with different waxing patterns until you found one that works for you. Continue rubbing the wax into the bumps until the depth is achieved.
Step 3 – Applying The Top Coat
The topcoat is much stickier than the base coat, allowing you to grasp the board with your feet instead of your hands. Unlike the base coat, the temperature of the water affects this layer of wax. On the outside of most wax cases are the recommended temperatures, indicating what temperature it should be used. The rationale for the temperature range is to guarantee that the wax stays sticky with the surrounding waterways, as some tropical types may freeze in the winter, causing traction problems. In the heat, though, the cold water ones may not be sticky enough.
Because this wax is softer than the base coat, you won’t need to press it down as firmly. When applying the topcoat to the base coat, we still recommend utilizing the waxing methods indicated above.
Surfboard Wax Maintenance
We recommend applying a small amount before each surf because the topcoat will gradually wear off with use. If the wax becomes too slippery, scrape the finish with your wax comb to improve traction. Re-waxing your surfboard at least two times a year, immediately before summer and winter, is recommended. This will ensure that your topcoat is always matching the temperature of the water. You can buy a high-quality surfboard at affordable prices at LumBuy!